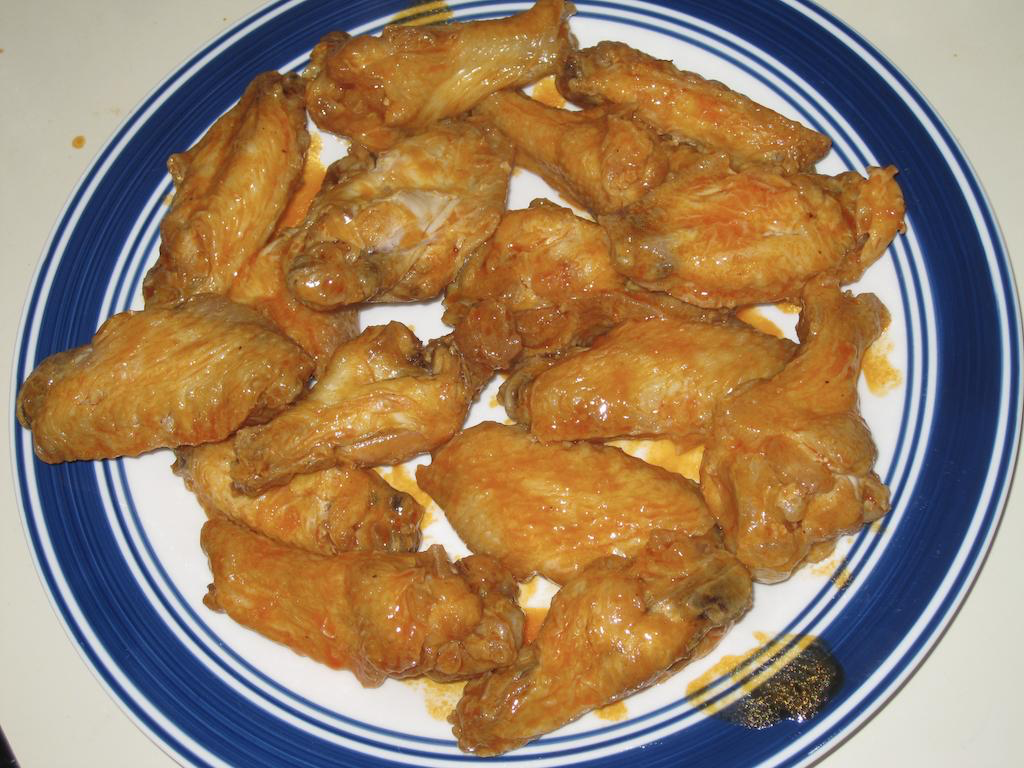
I’m a big fan of chicken wings, one of the perfect keto foods. I started eating them back in the mid 1970s when I lived in the Buffalo area, well before they became popular nationwide. Over the decades I’ve continuously tweaked my method of making wings, trying to make them taste as authentic as possible to what I remember. This recipe optimizes taste over ease of preparation. It’s not a quick “throw wings in deep fryer for ten minutes slather with sauce then eat right way” recipe. Although you can certainly make them that way if you don’t have the time. My goal was to duplicate the taste of wings from my childhood. I think I got pretty close.
Ingredients and required tools:
You’ll obviously need some chicken wings. I prefer using fresh vs bagged frozen and already cut wings.
Next you’ll a deep fryer to cook the wings. Don’t try to do it on the stovetop in a pot, it’s almost impossible to accurately control the oil temperature. I used to use one of the fancy countertop deep fryers with a basket, but got tired of how difficult they are to clean. So I’ve switched to the good old Fry Daddy. We actually got three of the Presto Big Kettle Multi-Cooker & Steamers, which is the largest version. It seems to only be sold at WalMart.
Why three? Well, we also cook some other deep fried foods for the kids, but I wanted one that would only be used for wings, so the oil would last longer. Having three means there is a spare, so we can filter the oil by directly pouring it through a strainer (optionally with cheesecloth) into the third fryer, and not dirty up a bowl as a temporary vessel to hold the oil. Then clean the old fryer, and put it into rotation for next time. This style fryer is super easy to clean, you can even do it in the sink, it’s waterproof.
Next choice is the oil for the fryer. Personally I prefer peanut oil. It’s a little more expensive than regular vegetable oil, but lasts longer, before the oil breaks down and needs to be replaced. It’s also a healthier option. I’ve not tried using lard, which would be an even healthier option, but that should work as well.
You’ll also need butter and Frank’s Red Hot sauce (the original / authentic sauce to use) and optionally some Tabasco sauce to increase the heat, plus a bowl to coat the wings with sauce. I find a plastic bowl with snap on lid works best.
Preparation:
Pour your oil into the deep fryer and get it warming up. Be sure to set the fryer temperature at or below the smoke point of the oil you’re using. For peanut oil I use 400F. Also set your oven to 150F, you will be stashing the fried wings here during the cooking process.
Separate the wings at each joint using either kitchen shears or a knife. Each wing has three parts: the drumette, the flat, and the tip. Tips don’t have enough meat on them to be worth frying, but you can save them for making stocks.
Deep fry the wings in small batches. Don’t overload the deep fryer, or the oil temperature will drop too low! That will result in soggy yucky wings, and more of the cooking oil may enter the food. Not what you want. I cook up to ten wing pieces at a time, in a smaller fryer you may have to fry fewer at a time.
I find it takes about 8-9 minutes to fry, you will know they are cooked when they float to the top of the oil. You can always take one out and check it with an instant read thermometer to make sure it is 165F in the center.
Place the cooked wings on a rack over paper towels, or directly on the paper towels themselves on a plate (yes, I know, everyone says your fried food will be greasy if you do this, I find if you don’t put too many on at a time, it is fine). Place into the warm oven.
Continue to fry any additional batches. When you’re done, keep the wings in the warm oven for 30 to 560 minutes, this helps make the skin more crispy, without continuing to cook the inside. Don’t worry, at 150F you are above the minimum 140F temperature to stay out of the “danger zone”.
Now make your sauce. The classic sauce is made with equal parts of melted butter (I use the microwave) and Frank’s Red Hot Sauce. This is the typical heat level. I find that 2 tablespoons each of butter and hot sauce is enough to coat 20 wings. If you want your wings very mild, you could use more butter / less hot sauce. If you want to make them spicier, add Tabasco sauce. This is something you will need to adjust on a personal basis. I mix the butter and hot sauce into an emulsion using a small battery powered mixer/frother in a measuring cup. I do not add any salt to the sauce, there is enough in the butter and hot sauce.
Remove the wings from the warm oven (but keep it on!) and place into the plastic bowl, pour on the hot sauce, put on the lid, and gently shake to coat the wings. Then remove the wings from the bowl and put on a plate (not plastic!) and put back into the 150F oven for another 30-60 minutes. I find this final step is key to getting the authentic wing taste. Perhaps it duplicates the tine the wings sat in a bucket on the way home from the wing/pizza shop?
Now you’re ready to eat. I like a light sprinkle of salt on the wings (notice I don’t add any to the hot sauce itself), but I like my foods on the salty side, so you may want to try them without salt first. Wings are often eaten with celery which is generally OK on a ketogenic diet in reasonable quantities. Blue cheese dressing as dip is also popular, I don’t use it myself, but check the label, many brands are relatively low in carbs, but some may not be.